Final Cut Pro is a powerful video editing software, but it can sometimes become slow or unresponsive on a Mac. If you’re experiencing lag, long rendering times, or choppy playback, don’t worry—this guide will help you identify the causes and provide step-by-step solutions to optimize Final Cut Pro for smoother performance.

Common Causes Of Final Cut Pro Slowdowns
Several factors can affect the speed and performance of Final Cut Pro on your Mac. Here are the most common reasons:
-
Insufficient RAM or system resources
-
Slow or failing hard drive (HDD instead of SSD)
-
Large, unoptimized media files
-
Background processes consuming CPU and memory
-
Outdated macOS or Final Cut Pro version
-
Too many effects, transitions, or plugins
-
Cache buildup and fragmented render files
Now, let’s go through the solutions step by step.
Step 1: Close Unnecessary Applications
Having multiple apps running in the background can slow down Final Cut Pro.
-
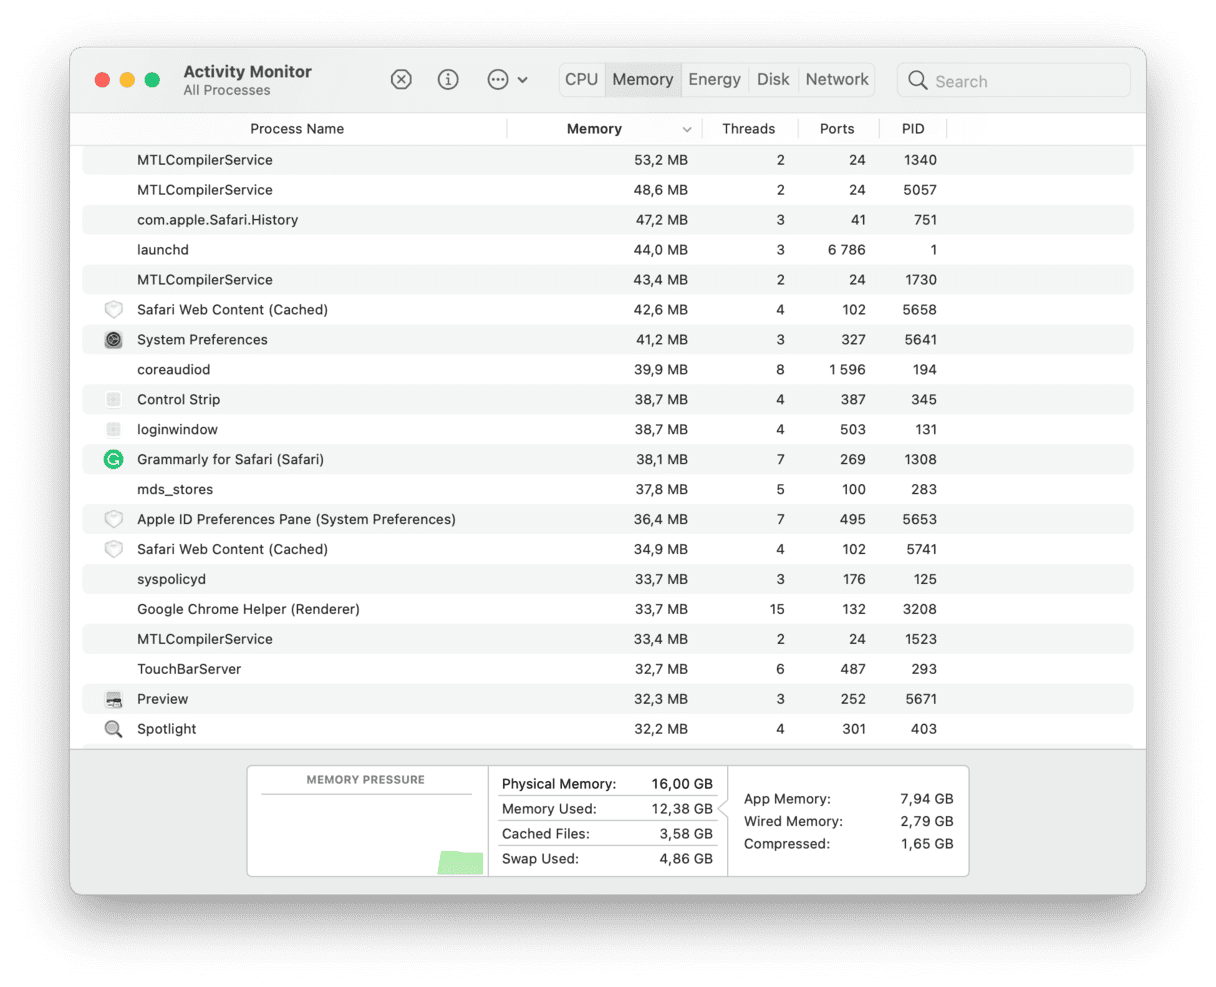
Open Activity Monitor (Finder > Applications > Utilities > Activity Monitor).
-
Look for resource-heavy applications.
-
Select the app and click Quit Process.
-
Restart Final Cut Pro and check if performance improves.
Step 2: Use Proxy Media Instead of Original Media
Editing large 4K or high-resolution files can slow down playback.
-
Open Final Cut Pro.
-
Select the clips in your Timeline.
-
Go to File > Transcode Media.
-
Choose Create Proxy Media and click OK.
-
In the View Menu, select Use Proxy Media instead of Original/Optimized.
This will reduce the strain on your Mac and speed up editing.
Step 3: Optimize Final Cut Pro’s Storage
Too many render files and cache buildup can slow things down.
Clear Render Files
-
Open Final Cut Pro and go to File > Delete Generated Library Files.
-
Select Delete Render Files and click OK.

Move Media to an External SSD
-
Use a fast external SSD to store your project files instead of your Mac’s internal drive.
-
Make sure your SSD is formatted as APFS or Mac OS Extended (Journaled) for optimal performance.
Step 4: Update Final Cut Pro and macOS
Running an outdated version of Final Cut Pro or macOS can cause performance issues.
-
Open the App Store and check for Final Cut Pro updates.
-
Click Update if available.
-
Go to System Settings > Software Update and install any macOS updates.

Step 5: Free Up RAM and CPU Usage
Too many background processes can slow down editing performance.
-
Restart your Mac to clear RAM usage.
-
Use Final Cut Pro’s Background Tasks Manager:
-
Press Command + 9 to open the Background Tasks window.
-
Stop unnecessary rendering or exporting tasks.
-
Step 6: Adjust Playback Settings for Faster Editing
-
Open Final Cut Pro and go to View > Playback Quality.
-
Set it to Better Performance instead of Better Quality.
-
Reduce playback resolution if working with high-resolution files.
Step 7: Consider a Hardware Upgrade
If you regularly edit large projects, upgrading your Mac’s hardware can significantly improve performance.
-
Upgrade to an SSD if you’re still using an HDD.
-
Increase RAM if your Mac has less than 16GB.
-
Use an M1/M2 Mac for optimal Final Cut Pro performance.
Need help? Visit MacRepair Store—30-Minute Service Guarantee!
If Final Cut Pro is still running slow, our expert technicians at MacRepair Store can optimize your Mac for video editing with our fast 30-minute service guarantee!
Why Choose Us?
- Expert Mac performance tuning
- Hardware upgrades for faster editing
- Affordable and professional service
Visit Us – MacRepair today! Call us at 0800 585 222 to book an appointment.
Final Thoughts
By following these steps, you can improve the speed and efficiency of Final Cut Pro on your Mac. If you need professional help, visit MacRepair today for a fast and reliable solution