Apple is well-known for building accessibility features directly into macOS, and one of the most powerful tools is Switch Control. If you or someone you know has limited mobility, Switch Control can allow you to fully operate a Mac using adaptive switches, keyboard keys, or even a single button.
At MacRepair, we’re passionate about making technology accessible to everyone. In this step-by-step guide, we’ll show you exactly how to set up and use switches to control your Mac running macOS 12 Monterey. And if you need help configuring or repairing your device, remember: we guarantee service in just 30 minutes!
Step 1: What is Switch Control?
Switch Control is an assistive technology feature built into macOS that lets you navigate your computer using a switch or a set of switches instead of a traditional keyboard, trackpad, or mouse.
Switch Control works by scanning your screen and letting you choose actions with simple presses. It’s incredibly flexible — you can connect switches through:
- USB
- Bluetooth
- External adaptive devices
- Even your Mac’s keyboard as a makeshift switch
Step 2: Connect Your Switch Device
Before setting up Switch Control, you need to connect your physical switch device (unless you’re planning to use the keyboard as your switch).
To connect a switch:
- USB Switch: Plug it into your Mac’s USB port.
- Bluetooth Switch:
- Turn on the switch and put it into pairing mode.
- On your Mac, go to System Preferences > Bluetooth and select your device.
- Turn on the switch and put it into pairing mode.
- Adaptive Device: Some specialized adaptive devices may require installation of drivers or apps provided by the manufacturer.
Step 3: Enable Switch Control in macOS 12 Monterey
Once your switch is connected, it’s time to activate Switch Control.
Here’s how:
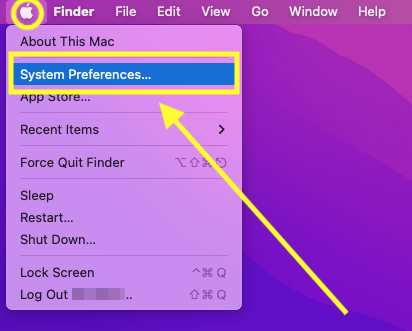
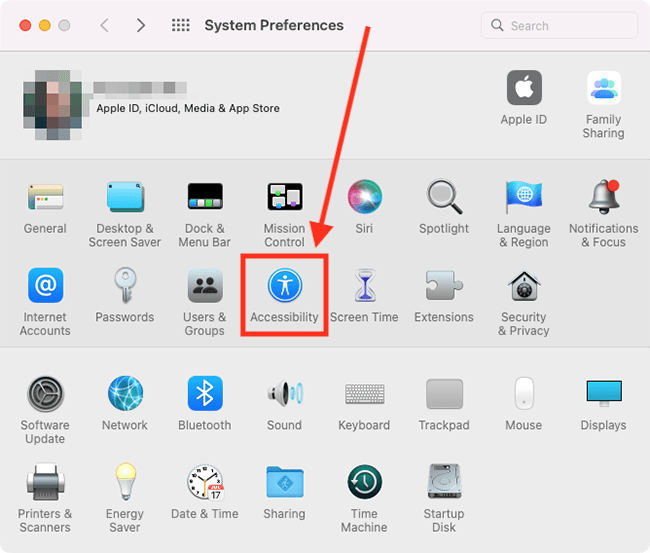
- Open System Preferences.
- Click Accessibility.
- Scroll down and select Switch Control.
- Toggle the Switch Control option to On.
The Switch Control panel should now appear on your screen, showing options like Home, System, App, Dock, and more.
Step 4: Add and Customize Switches
Now it’s time to assign actions to your switches.
To add a switch:
- In the Switch Control settings panel, click Switches.
- Press the Add (+) button.
- Choose the source for your switch:
-
External device
-
Keyboard key
-
Pointer device button
-
- Name your switch and assign an action, such as:
-
Select item
-
Move to next item
-
Open menu
-
Tap
-
Example:
-
One switch can advance the cursor (scan) across items.
-
Another switch can select the highlighted item.
Step 5: Adjust Switch Control Scanning Settings
Switch Control can automatically scan your screen, highlighting items one at a time. You can customize how it behaves to match your needs.
To modify scanning settings:
- In Switch Control settings, click the Navigation tab.
- Adjust options like:
-
Auto Scanning: Automatically move from one item to another.
-
Scan Timing: Adjust how long it stays on each item before moving on.
-
Scanning Style: Choose between Item Scanning, Point Scanning, or Manual Scanning.
-
Explanation of Styles:
-
Item Scanning: Moves from one selectable item to the next.
-
Point Scanning: Moves a crosshair horizontally and vertically to pick a point anywhere.
-
Manual Scanning: User-controlled (moves only when you press the move switch).
Step 6: Customize Actions and Menus
Switch Control offers a rich menu of actions beyond basic navigation.
Customize actions:
- Open the Switch Control Panel.
- Select System to find options like:
-
Press Home Button
-
Open Notification Center
-
Adjust Volume
-
Lock Screen
-
- You can even create custom panels for different apps or activities!
For example:
- In Safari, create a panel with just “Back,” “Forward,” “Refresh,” and “New Tab” buttons for faster browsing.
Step 7: Practice Navigating with Switch Control
At first, using Switch Control might feel slow or overwhelming — that’s normal! Spend some time practicing with basic tasks like:
- Opening and closing applications
- Typing using the on-screen keyboard
- Browsing the web
- Sending a quick email
Step 8: Troubleshooting Switch Control Issues
Common Problems and Quick Fixes:
| Problem | Solution |
| Switch isn’t responding | Check connection, reboot Mac, reassign action |
| Scanning too fast or slow | Adjust scan timing settings |
| Menu not appearing | Confirm Switch Control is enabled |
| Switch delay | Try different USB ports or replace batteries in Bluetooth switches |
Step 9: Advanced Tip – Control Your Entire Mac Hands-Free!
For advanced users, Switch Control lets you fully operate your Mac without touching the keyboard or trackpad. You can:
- Launch applications
- Type entire documents
- Browse the internet
- Use system shortcuts
- Access any clickable button, link, or menu
By combining auto-scanning with custom switch actions, you gain complete control over your Mac’s functions — using only a switch (or two).
Step 10: Keep Your System Optimized for Best Performance
To ensure the best experience with Switch Control:
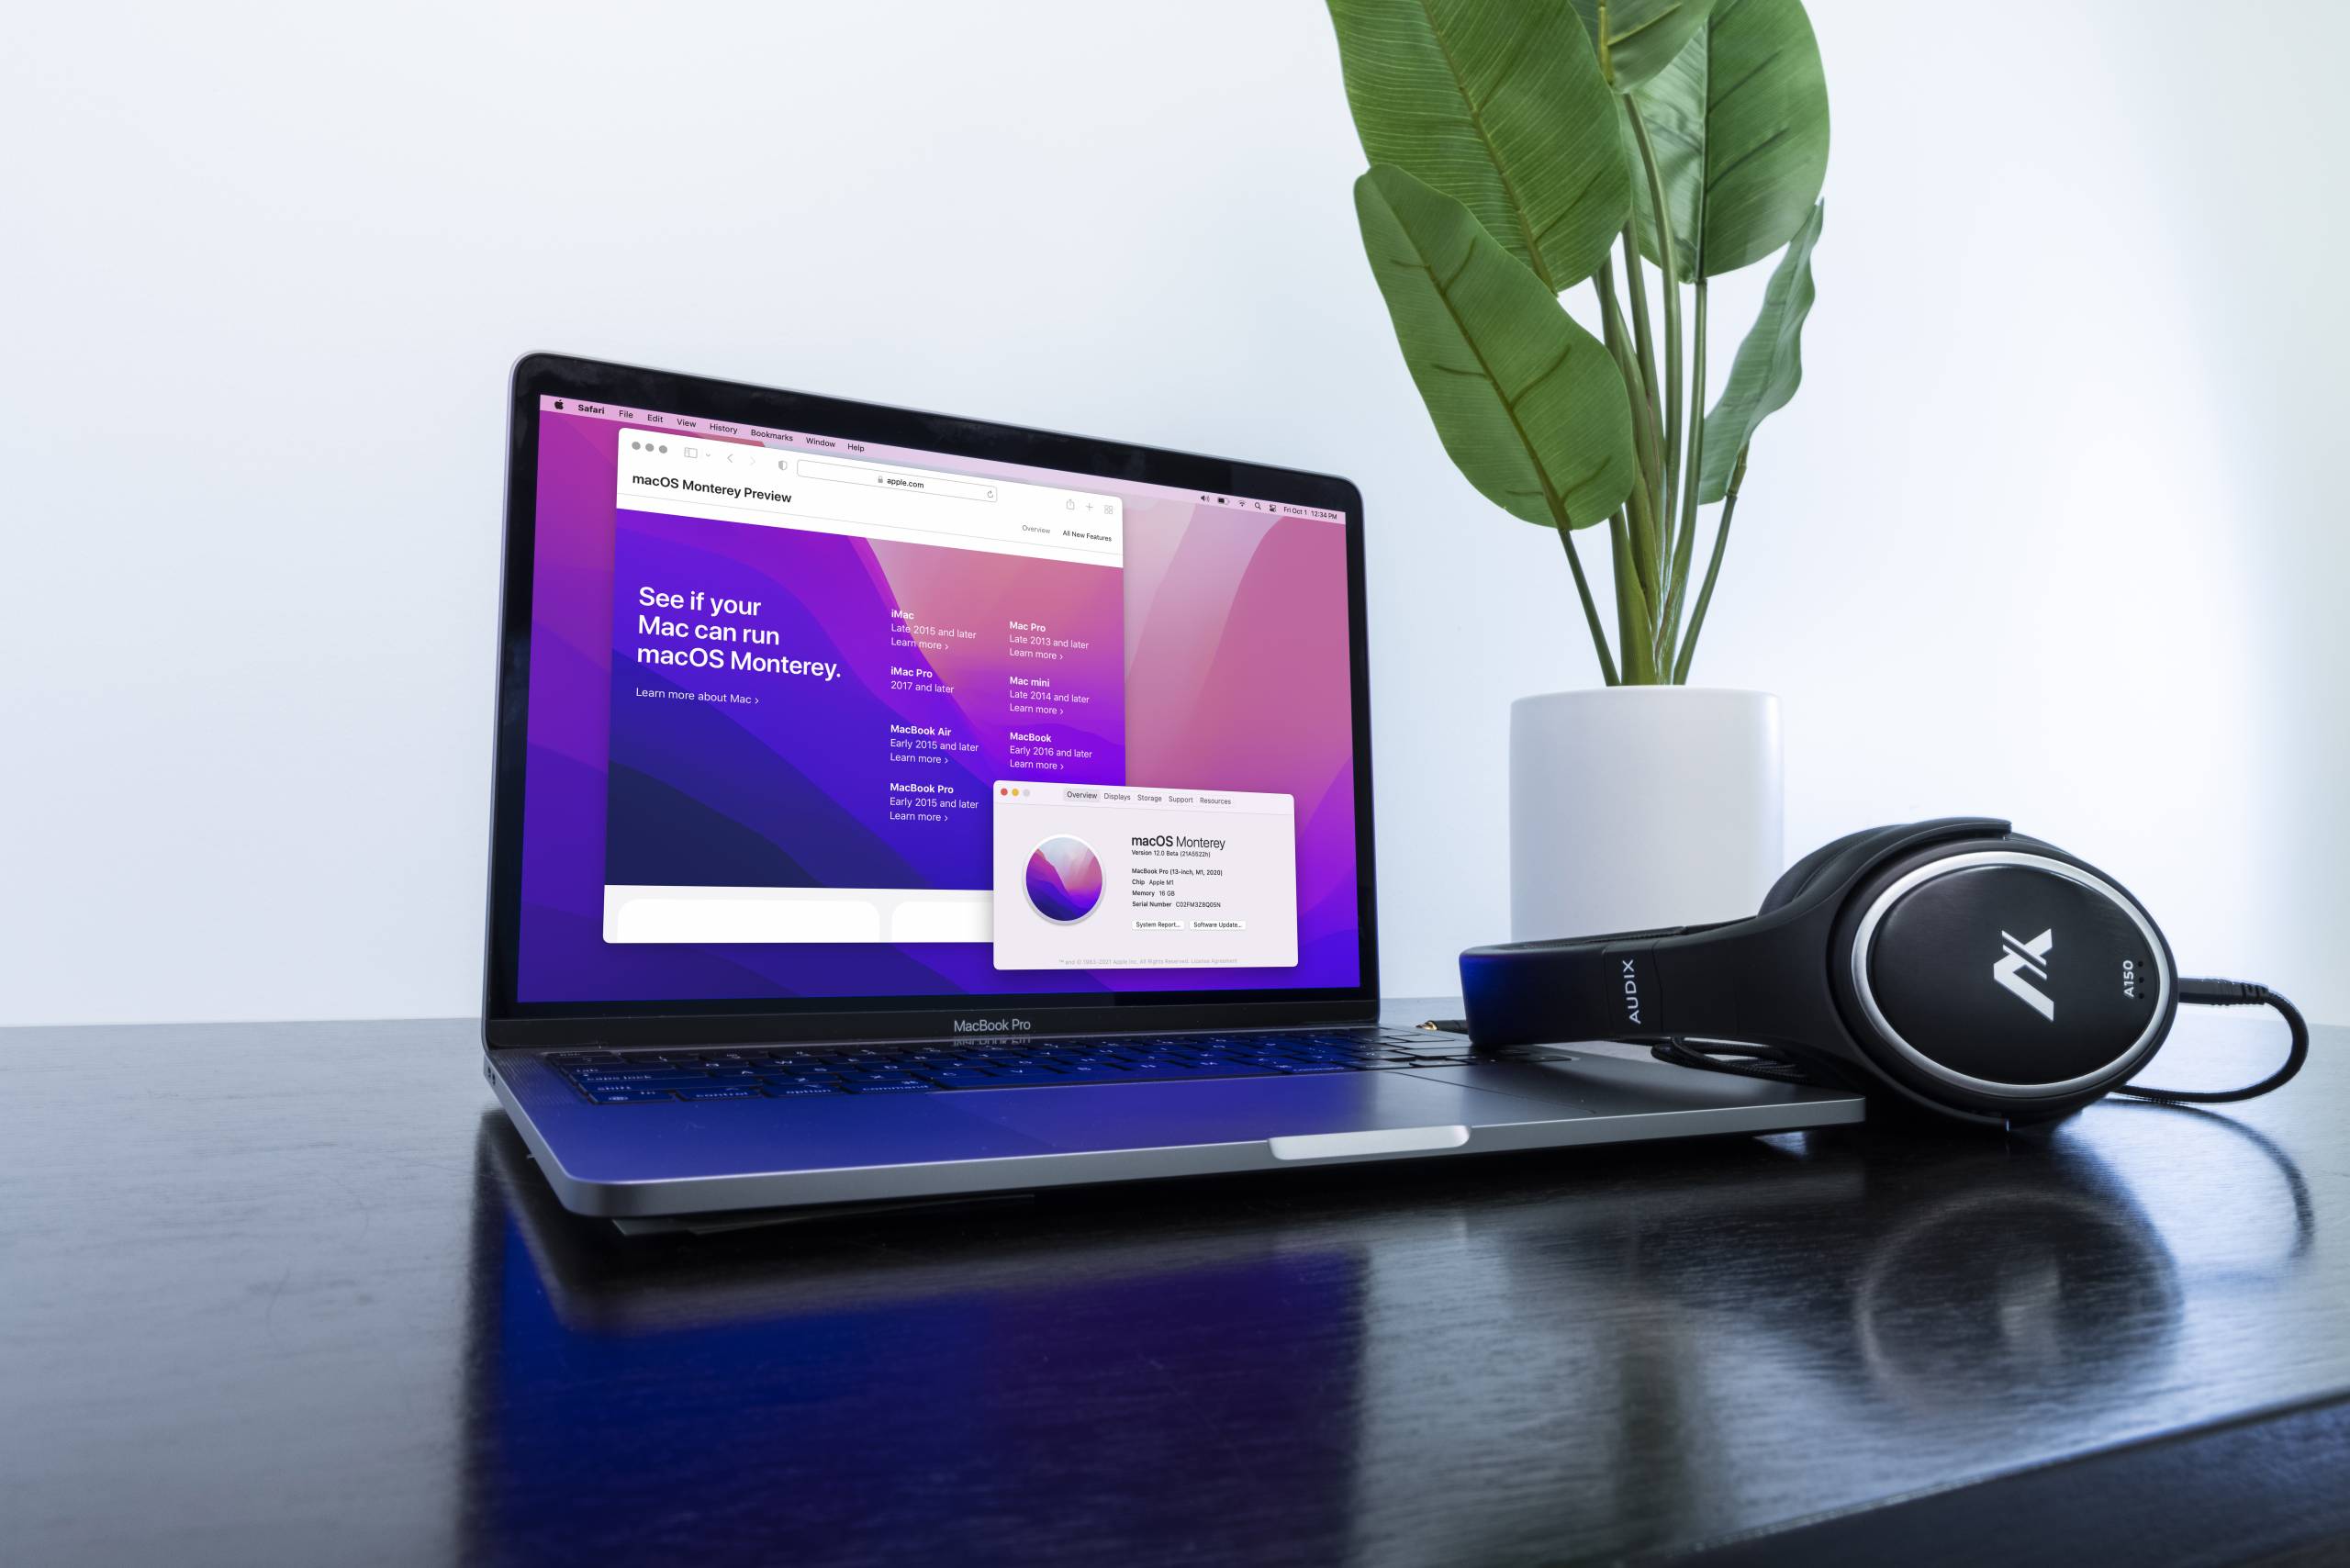
- Regularly update macOS to the latest version.
- Restart your Mac weekly to clear out system memory.
- Clean external switches to avoid mechanical issues.
- Use Disk Utility’s First Aid tool once a month to keep your drive healthy.
Final Thoughts
Switch Control is a remarkable feature that opens up a world of possibilities for users who need alternative ways to interact with their Mac. Whether you’re using one switch, two switches, or a customized array, macOS 12 Monterey ensures that every user can work, create, and connect on their terms.
At MacRepair, we’re proud to support accessibility for everyone whether you need help setting up adaptive technologies, troubleshooting connections, or optimizing your system.
Call Now: 0800 585 222 Visit Us: MacRepair Store – Your Local Apple Specialists for Fast, Professional Assistance!