Gaming on a Mac used to feel impossible — but not anymore! With the right setup, you can supercharge your Mac’s graphics performance by connecting an external Graphics Card (eGPU). Whether you’re playing AAA games, editing video, or working with 3D applications, an eGPU can transform your Mac experience.
In this detailed, step-by-step guide, we’ll show you exactly how to set up an eGPU with your Mac running macOS — all while keeping it simple and professional.
Let’s get started.
Step 1: Understand What an eGPU
An eGPU (external Graphics Processing Unit) is a standalone graphics card housed inside an enclosure that connects to your Mac via Thunderbolt 3 or Thunderbolt 4. It acts as a powerful companion, handling demanding graphics tasks separately from your Mac’s internal GPU.
Why gamers use eGPUs on Mac:
- Drastically improve frame rates
- Play Windows-only games (with Boot Camp or virtualization)
- Enhance 3D rendering and video editing speeds
Step 2: Check if Your Mac Supports eGPU
Before you buy anything, make sure your Mac is compatible.
Supported devices include:
- MacBook Pro (2016 and newer)
- MacBook Air (2018 and newer)
- Mac mini (2018 and newer)
- iMac (2017 and newer)
- Mac Pro (2019)
Important:
- M1, M2, and M3 Macs (Apple Silicon) currently have limited or no official eGPU support.
- Intel-based Macs work best with eGPUs.
How to check your Mac model:
- Click the Apple Menu > About This Mac.
Step 3: Choose the Right eGPU Enclosure
Your eGPU setup requires a Thunderbolt 3 or 4 enclosure to house the graphics card.
Top enclosure options:
- Razer Core X
- Sonnet eGFX Breakaway Box
- AKiTiO Node Titan
Key things to consider:
- Power supply wattage (higher is better for beefier GPUs)
- Physical space (make sure the GPU fits)
- Thunderbolt certification (for best macOS compatibility)
Step 4: Pick the Best GPU for Your Needs
Now comes the fun part: choosing your graphics card!
NVIDIA vs AMD:
- AMD Radeon GPUs (like the RX 580, Vega 64, RX 5700 XT) are best for Mac because macOS has native drivers.
- NVIDIA GPUs can work with older macOS versions (pre-Mojave) using third-party drivers, but it’s tricky.
Best GPUs for Mac Gaming:
- Radeon RX 5700 XT — High performance, great for most games.
- Radeon RX Vega 56 or 64 — Excellent for heavy multitasking and VR.
- Radeon RX 6800 XT — Top-end, ideal for future-proofing.
Step 5: Assemble Your eGPU
Time to put the parts together!
Assembly steps:
- Open your eGPU enclosure according to manufacturer instructions.
- Insert the GPU firmly into the PCIe slot.
- Secure the GPU with screws if required.
- Connect power cables from the enclosure to the GPU.
- Close the enclosure securely.
Safety Reminder: Always assemble your eGPU on a static-free surface to avoid damaging sensitive components.
Step 6: Connect the eGPU to Your Mac
Now that your eGPU is ready, it’s time to plug it in.
How to connect:
- Turn off your Mac.
- Plug the eGPU into your Mac via a Thunderbolt 3/4 port.
- Power on the eGPU.
- Turn your Mac back on.
Important Note: Some apps will automatically take advantage of the eGPU, while others might need manual configuration.
Step 7: Set the eGPU as the Preferred Graphics Processor
You might want your Mac to always use the eGPU for specific applications.
Set an app to use eGPU:
- Open Finder.
- Navigate to your Applications folder.
- Right-click the app you want to use.
- Select Get Info.
- Check “Prefer External GPU.”
Now, that app will automatically offload heavy graphics tasks to your eGPU!
Step 8: Install Windows via Boot Camp (Optional)
Want access to Windows-only games like Call of Duty: Warzone or Forza Horizon?
Set up Boot Camp:
- Use Boot Camp Assistant (built into macOS) to partition your drive.
- Install Windows 10 (or 11) onto the partition.
- After installing Windows, download Boot Camp drivers.
- Connect your eGPU — Windows should detect it automatically.
Important: Windows often provides better eGPU performance for gaming compared to macOS.
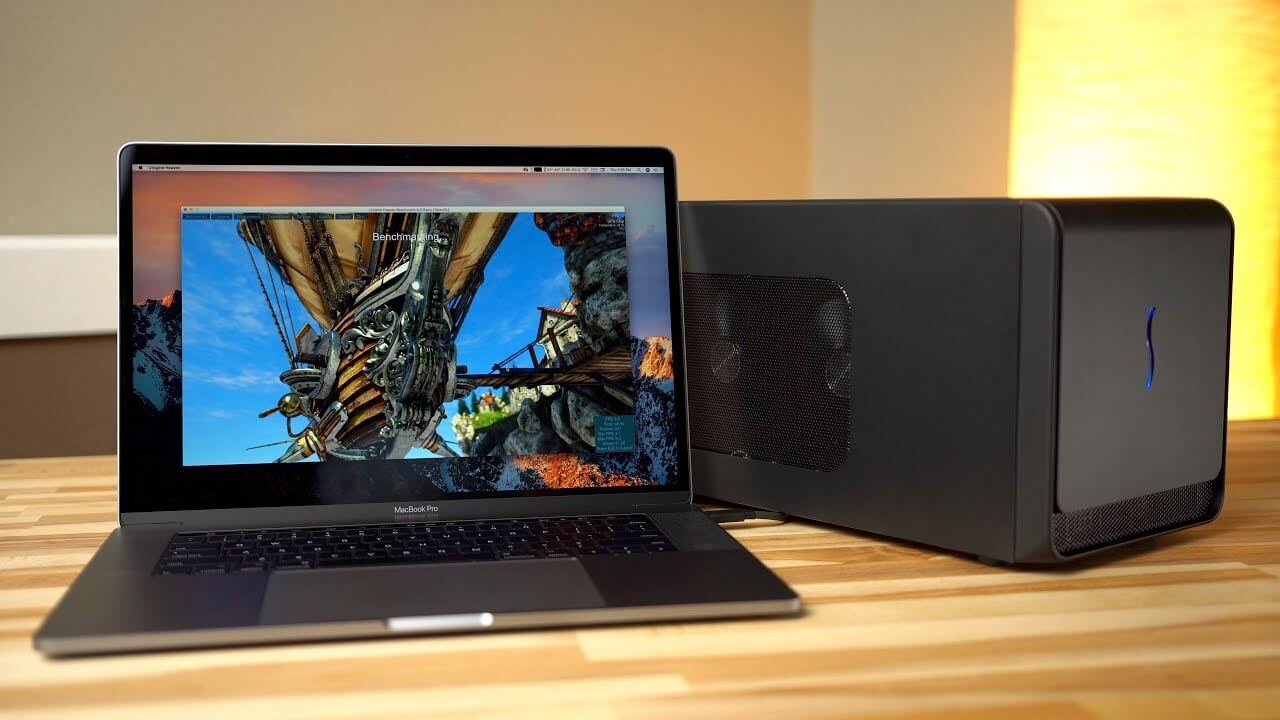
![2019 16″ MacBook Pro (RP5500M) [9th,8C,H] + RX 5700 @ 32Gbps-TB3 (Wavlink WL-UTE02 * ADT-Link R43SG) + macOS 10.15.1 & Win10 1903 | eGPU.io](https://egpu.io/wp-content/uploads/2019/11/2019-16-in-macbook-pro-adt-link-r43sg-m2-tb3-rx-5700-egpu-asus-usb-c-monitor-boot-camp.jpeg.webp)
Step 9: Troubleshoot Common eGPU Issues
Running into trouble? Here are common problems and solutions:
| Issue | Solution |
| Mac doesn’t recognize eGPU | Reboot with eGPU connected |
| Games not using eGPU | Set “Prefer External GPU” manually |
| eGPU disconnects randomly | Replace your Thunderbolt cable |
| Poor performance | Update macOS, firmware, and app settings |
Still stuck? Bring your setup to MacRepair Store — we’ll diagnose and fix eGPU problems
Step 10: Optimize Your Gaming Setup
Now that your eGPU is working, optimize everything for the best gaming experience:
- Lower in-game settings slightly for smoother frame rates.
- Keep your macOS updated for better GPU compatibility.
- Use a cooling pad if you’re gaming on a MacBook to prevent thermal throttling.
- Keep drivers updated (especially under Boot Camp).
Final Thoughts
Using an external graphics card with a Mac completely changes the game — literally! Whether you’re diving into graphically intense AAA titles, editing 4K video, or just looking to breathe new life into your Mac, an eGPU setup is a powerful solution.
Want to Supercharge Your Mac for Gaming? Visit Us—MacRepair Store!
Fast, Professional eGPU Installation
30-Minute Service Guarantee
Gaming and Performance Optimization Experts
Call Now: 0800 585 222 Visit Us: MacRepair Store – Your Local Experts in Mac Upgrades and Gaming Solutions!