The Touch Bar on your MacBook Pro is one of the most unique and innovative features Apple introduced. With its dynamic, context-sensitive display, it offers a wide range of customization options that can help you be more productive. Whether you’re a creative professional, a programmer, or a casual user, optimizing the Touch Bar for your workflow can save time, streamline tasks, and give your MacBook Pro a truly personalized feel.
At MacRepair, we understand the importance of enhancing productivity and usability. In this detailed, step-by-step guide, we will show you how to customize your Mac’s Touch Bar for better productivity.
Why Should You Customize Your Mac’s Touch Bar?
Before we get into the customization process, let’s first explore why customizing your Touch Bar is worth the time:
- Improved Efficiency: Tailoring the Touch Bar to your specific tasks can help you execute them faster and with fewer steps.
- Personalization: By adding shortcuts, you can give your MacBook Pro a unique setup that matches your needs and preferences.
- Enhanced Productivity: With easy access to frequently used tools, apps, and shortcuts, you’ll be able to perform tasks faster and more effectively.
- Optimized Workflow: Customizing the Touch Bar allows you to create a seamless workflow, where all the essential tools are just a tap away.
Now that we understand why it’s beneficial to customize your Touch Bar, let’s dive into the step-by-step process of setting it up for better productivity.
Step 1: Accessing the Touch Bar Settings
Customizing your Mac’s Touch Bar begins with accessing its settings. Here’s how you can do that:
How to Access Touch Bar Settings:
- Open System Preferences: Click on the Apple menu in the top-left corner of your screen and select System Preferences.
- Go to Keyboard: In the System Preferences window, click on Keyboard to open the keyboard settings.
- Customize Touch Bar: Under the Keyboard tab, you’ll see an option labeled Customize Touch Bar. Click on this to open the customization options.
Step 2: Adding and Removing Buttons
One of the easiest ways to personalize your Touch Bar is by adding or removing buttons. Depending on the apps you use most, you can place shortcuts, system controls, or even custom commands on your Touch Bar for instant access.
How to Add and Remove Buttons from the Touch Bar:
- Click on Customize: Once in the Customize Touch Bar window, you’ll see a variety of system controls and app-specific options you can add to the Touch Bar.
- Drag and Drop: To add a button, simply drag the desired button or function from the Customize Touch Bar panel onto the Touch Bar itself. To remove a button, click on the button on the Touch Bar and drag it back into the settings window.
- Access Default and App-Specific Buttons: You can access a variety of default system controls (like volume, brightness, keyboard brightness) as well as app-specific buttons (such as New Document in Pages or Play/Pause in iTunes).
- Tap Done: Once you’re happy with your Touch Bar layout, click on Done to save your changes.
Step 3: Customizing App-Specific Buttons
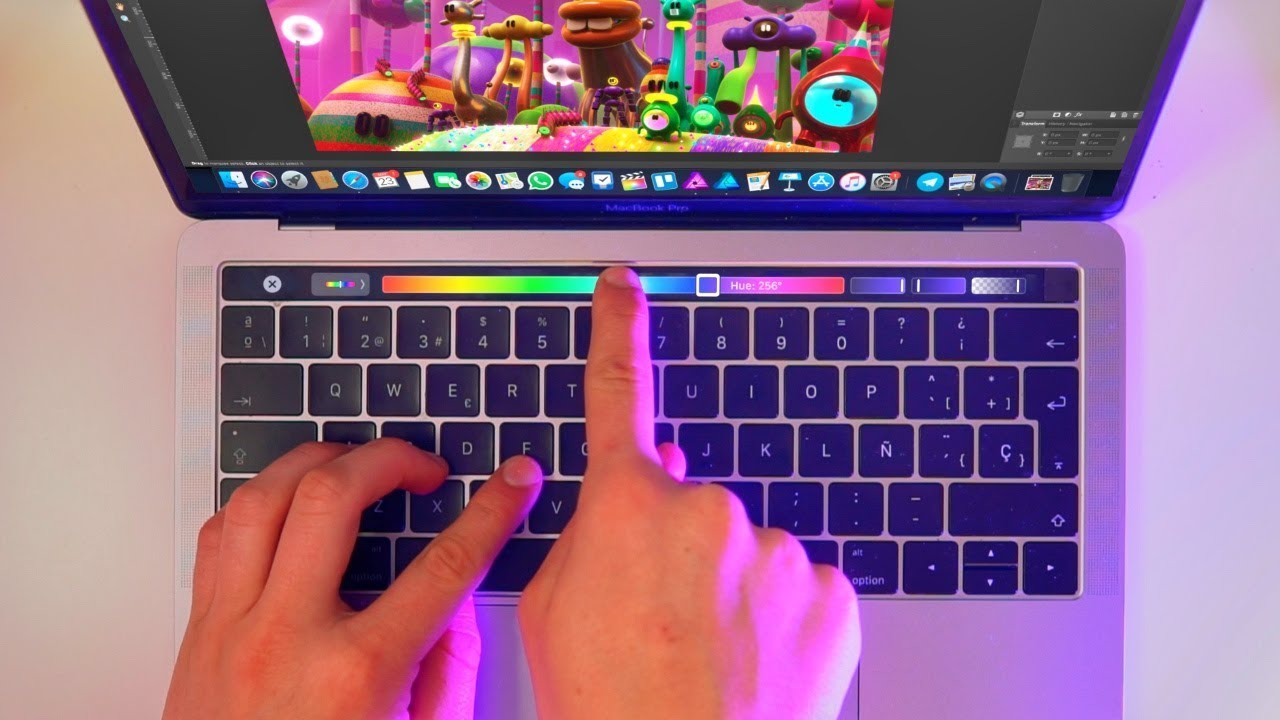
Certain applications like Safari, Photoshop, and Microsoft Office allow for Touch Bar customization within their specific settings. For example, in Safari, you can add buttons for open new tabs, search history, or refresh pages. With Photoshop, you can access tools such as brush size or undo commands directly from the Touch Bar.
How to Customize App-Specific Buttons:
- Open the App: Launch the app you want to customize the Touch Bar for (e.g., Safari, Photoshop).
- Open Touch Bar Settings: Go to the View menu in the app, and select Customize Touch Bar (this option may vary slightly depending on the app).
- Add Custom Buttons: You’ll now see a list of app-specific controls that you can drag to your Touch Bar. For example, in Safari, you could add back/forward navigation buttons or a reload button.
- Click Done: Once you’ve added the app-specific buttons, click Done to save your changes.
Step 4: Creating Custom Touch Bar Shortcuts
One of the most powerful features of the Touch Bar is the ability to create custom shortcuts for the tasks you perform frequently. Whether it’s launching an app, opening a file, or executing a keyboard shortcut, you can create a custom button to streamline the process.
How to Create Custom Shortcuts for the Touch Bar:
- Use Automator: Open Automator, which is a built-in app on your Mac for automating tasks. Create a new Quick Action or Application depending on your need.
- Set Up Your Workflow: In Automator, add actions that you want to run when the custom button is tapped. For example, you could set up a shortcut that opens a specific folder, runs a script, or opens a frequently used website.
- Assign the Shortcut to the Touch Bar: After creating your automation workflow, go to System Preferences > Keyboard > Customize Touch Bar. Drag the Automator shortcut to the Touch Bar for easy access.
- Test the Shortcut: Try tapping your custom button to make sure it runs your automation as expected.
Step 5: Organizing Your Touch Bar Layout
Once you’ve added your shortcuts and app-specific buttons, it’s important to organize them for ease of use. A cluttered Touch Bar can be overwhelming and slow down your workflow. To avoid this, organize the layout in a way that suits your specific needs.
How to Organize Your Touch Bar:
- Prioritize Frequently Used Features: Place the buttons you use the most in the center of the Touch Bar for quick access.
- Group Similar Functions: Group related buttons together, such as keeping all music controls or media-related buttons in one section and your work-related apps in another.
- Remove Unnecessary Buttons: If you find that certain buttons are rarely used, remove them to streamline your workflow.
- Test Your Layout: After making changes, test out your new layout to make sure everything is in the most convenient location.
Step 6: Utilizing the Touch Bar for System Controls
Apart from app-specific features, you can also use the Touch Bar for system controls, which can improve your productivity by allowing quick access to basic settings without opening other menus.
How to Use System Controls on the Touch Bar:
- Add Volume and Brightness Controls: Go to Customize Touch Bar in the System Preferences > Keyboard and drag volume and brightness controls onto the Touch Bar.
- Quick Access to Do Not Disturb: You can add the Do Not Disturb toggle to the Touch Bar to instantly silence notifications when you need focus time.
- Show the Emoji Keyboard: For quick access to emojis, you can add the Emoji Picker to the Touch Bar, making it easier to insert emojis into messages, emails, or documents.
Step 7: Resetting the Touch Bar to Default Settings
Sometimes, you might want to start fresh and reset the Touch Bar to its default settings. Here’s how to do it:
How to Reset the Touch Bar:
- Open System Preferences: Go to the Apple menu and select System Preferences.
- Navigate to Keyboard: Click on Keyboard and then select Restore Defaults under the Touch Bar settings.
- Confirm: Once confirmed, your Touch Bar will reset to its original layout, and you can start over with a clean slate.
Step 8: Troubleshooting Touch Bar Issues
If your Touch Bar isn’t responding or seems to be malfunctioning, don’t panic. There are several ways to troubleshoot and fix common issues, including software glitches and hardware problems.
How to Troubleshoot the Touch Bar:
- Restart Your Mac: A simple restart often fixes minor software glitches.
- Reset the System Management Controller (SMC): Sometimes, resetting the SMC can resolve hardware-related issues. To do this, turn off your Mac, then hold down Shift + Control + Option on the left side of the keyboard, followed by the Power button. Hold all keys for 10 seconds, release, and then turn your Mac back on.
- Reinstall macOS: If the problem persists, reinstall macOS via Recovery Mode by restarting your Mac and holding Command + R during startup. This will repair any system-related issues.
Need Help Customizing Your Touch Bar? Visit MacRepair!
Customizing your Mac’s Touch Bar is a great way to increase productivity and personalize your MacBook Pro. However, if you find yourself struggling with the process or need some expert assistance, don’t worry – MacRepair is here to help!
Why Choose MacRepair?
- 30-Minute Service Guarantee: We guarantee efficient service to get your MacBook Pro Touch Bar customized quickly.
- Expert Technicians: Our highly skilled technicians have the expertise to handle any Mac-related issue.
- Affordable Pricing: Enjoy competitive pricing with top-quality service.
- Customer Satisfaction: We’re committed to providing the best customer experience every time.
In Conclusion
Customizing your Mac’s Touch Bar can significantly improve your productivity, streamline your workflow, and personalize your MacBook Pro. By following this step-by-step guide, you can create a Touch Bar layout that suits your unique needs.
If you need help at any point, don’t hesitate to Visit MacRepair Store and Call Now: 0800 585 222. We’re here to help you make the most out of your Mac’s features!